
How academic researchers can prepare for publication with hard-to-beat footage
3 MINUTE READ
Did you know you could have the spark of a documentary sitting in your back pocket? Documentary makers would give their eye teeth to film in some of places that researchers visit. Archaeologists, palaeontologists, astrobiologists, marine biologists – all have the opportunity to explore some of the world’s most stunning places. I envy only David Attenborough more than the average globe-trotting scientist.
But hands up those of you who fail to film the work? When I worked in university media and communications, I would weep at the number of missed opportunities because nothing was recorded in the field. It’s understandable – you are there for the research. But what if Nature accepts your paper and you have no visuals to promote it?
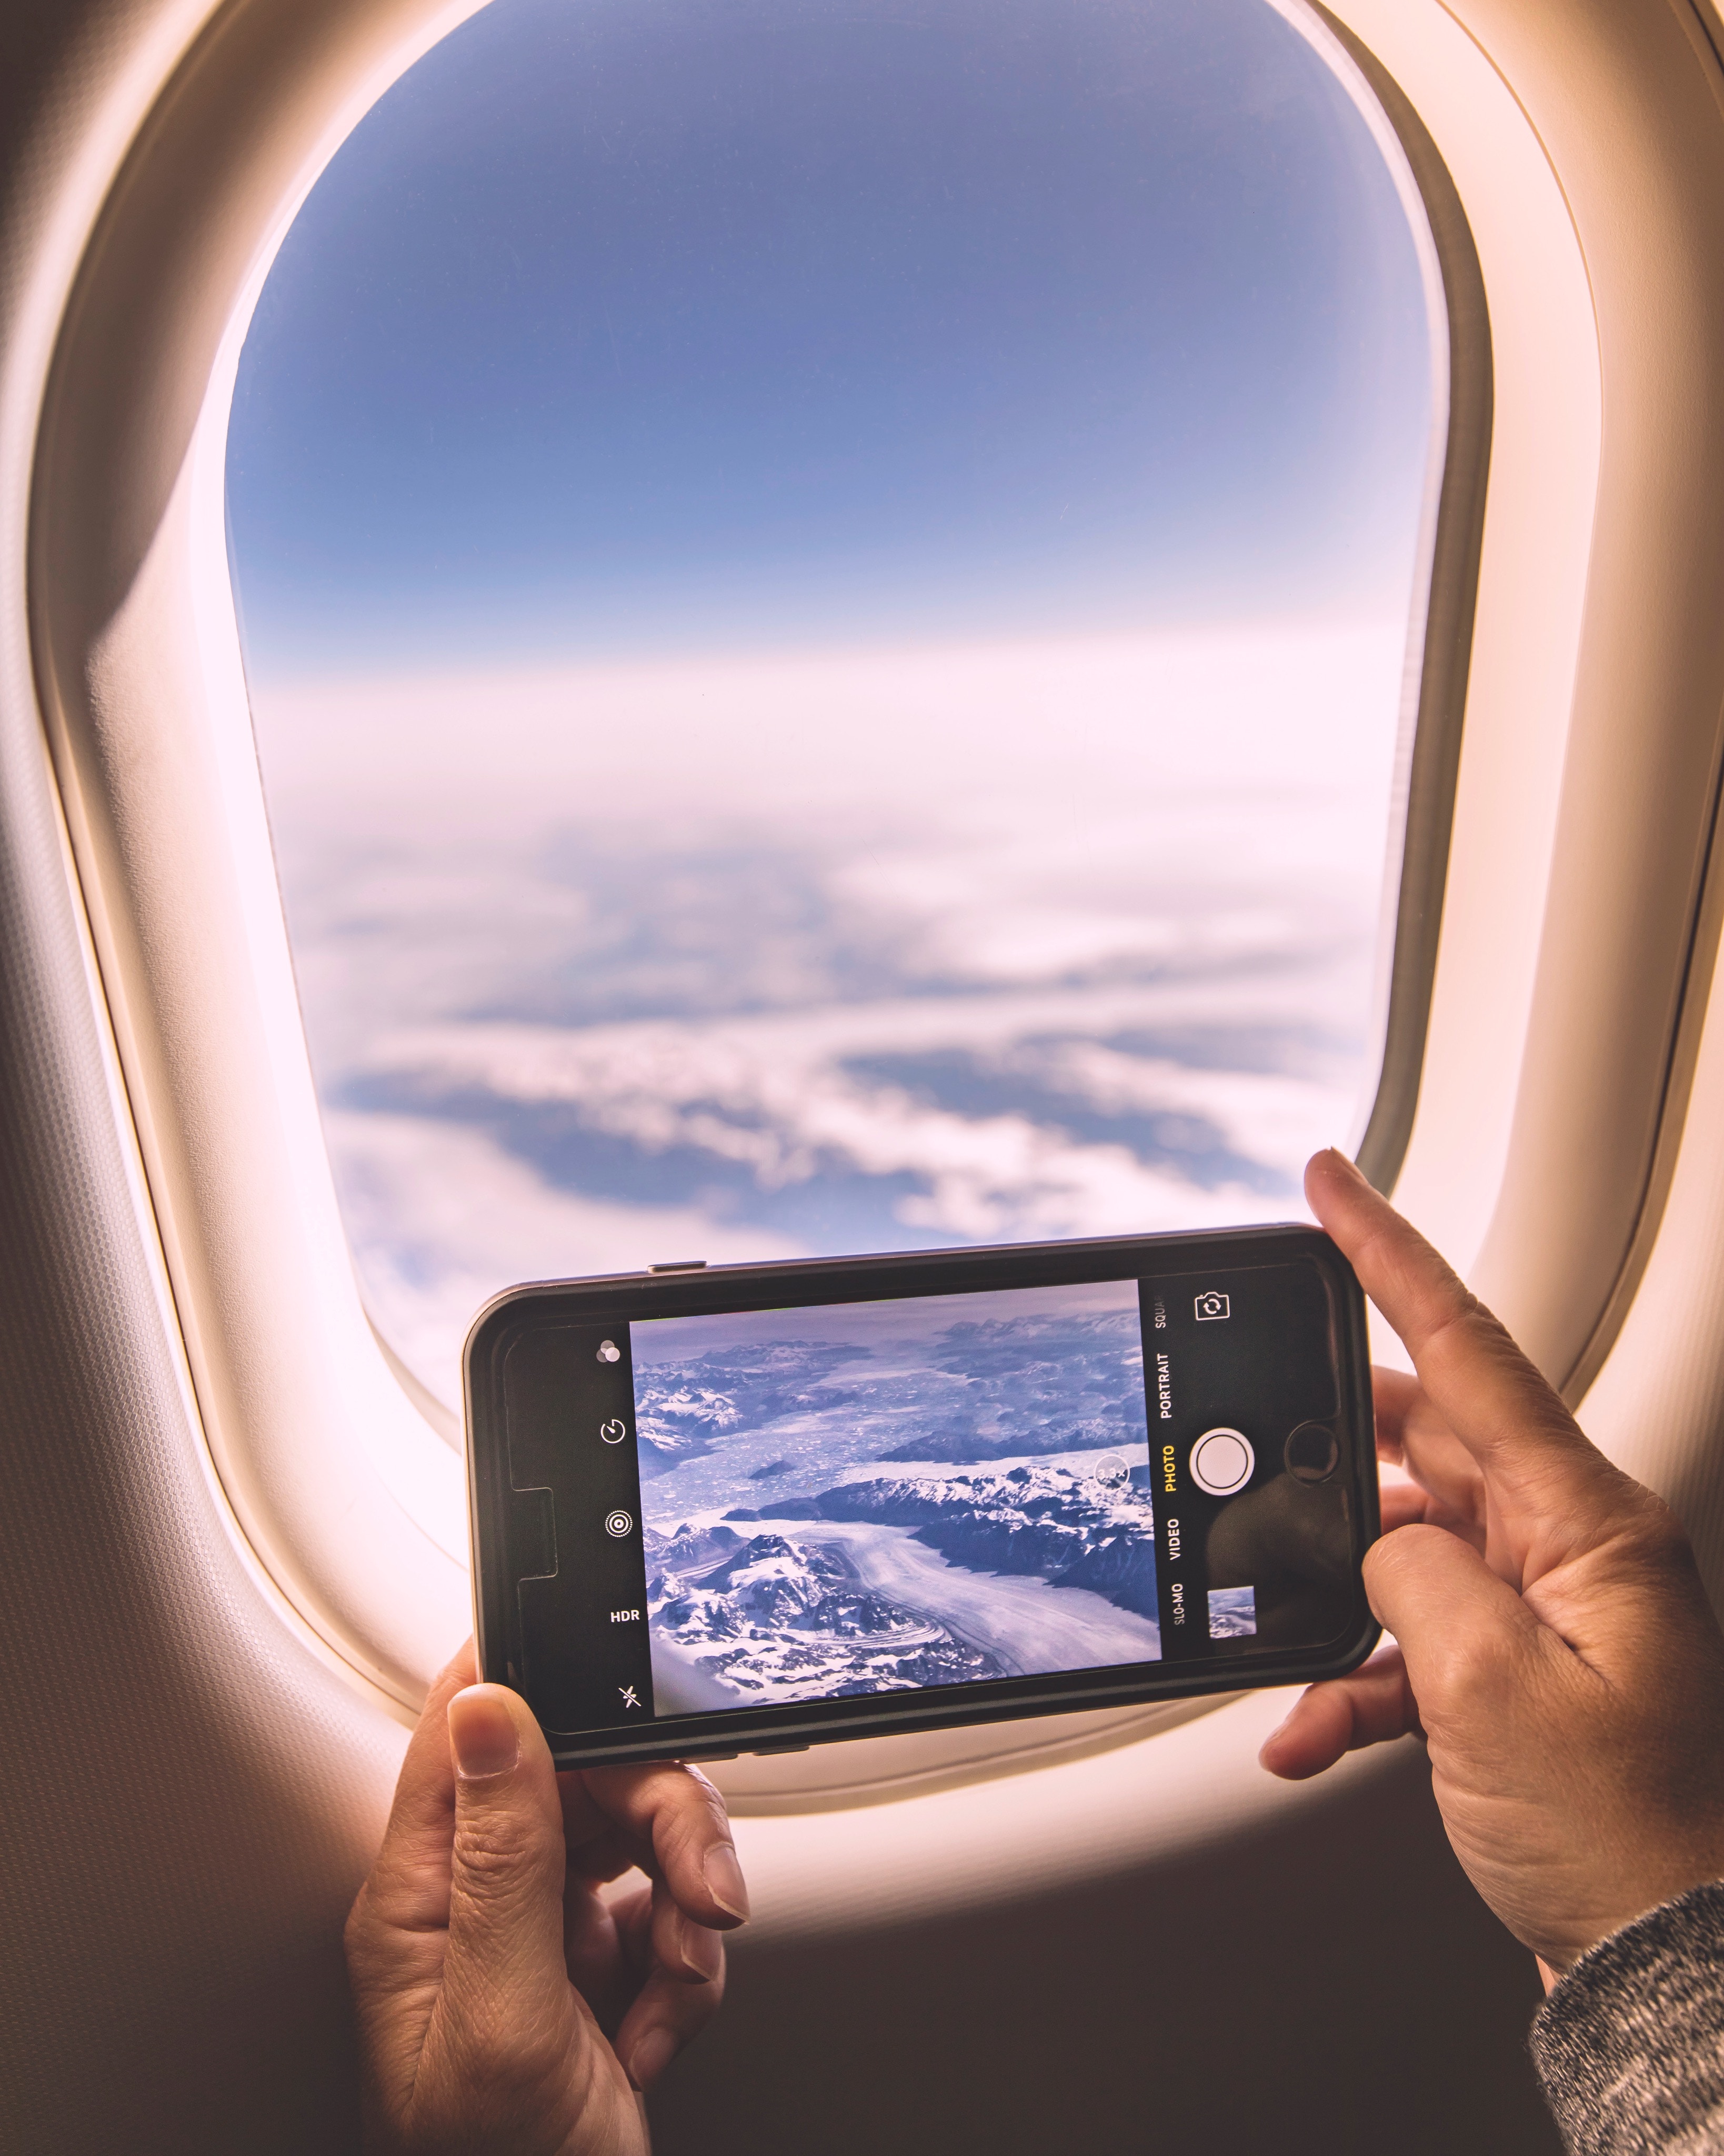
Budgets usually don’t allow professionals to travel into the field. Your in-house teams rely on you to bring back the goods. So here’s a few tips for shooting in the field using an i-phone 6 and above.
Before you leave
Speak to your media office. Your media team can probably guide on the story they will ultimately promote – and it puts you on their radar. Most importantly, ask them for appearance and location release forms. These are documents that give you legal permission to film an interviewee and will be required later on.
Audio is half of your film, particularly if you plan on interviewing someone. If you don’t have an external microphone for your iphone, buy one. The Rode i-XY is an affordable model and comes with a handy foam wind shield. Full mobile interview kits are also available. The Zoom iQ6 is a cheaper but dependable alternative.

Plan your filming
What is the nature of your field work? Will you need to show a final process? The stages of an archaeological dig, for example. If so, you will need to record a little bit of the activity every day. With this video here – albeit professionally shot – I worked out such a tight script beforehand that we were able to shoot it in one day.
Incidentally, this video was used to pitch to a broadcaster and it later won a best short documentary award at a science film festival. But professional shooting played a huge part in that. If all you have time for is general footage, at least work out how you will shoot something every day. Can a PhD student be assigned the task?
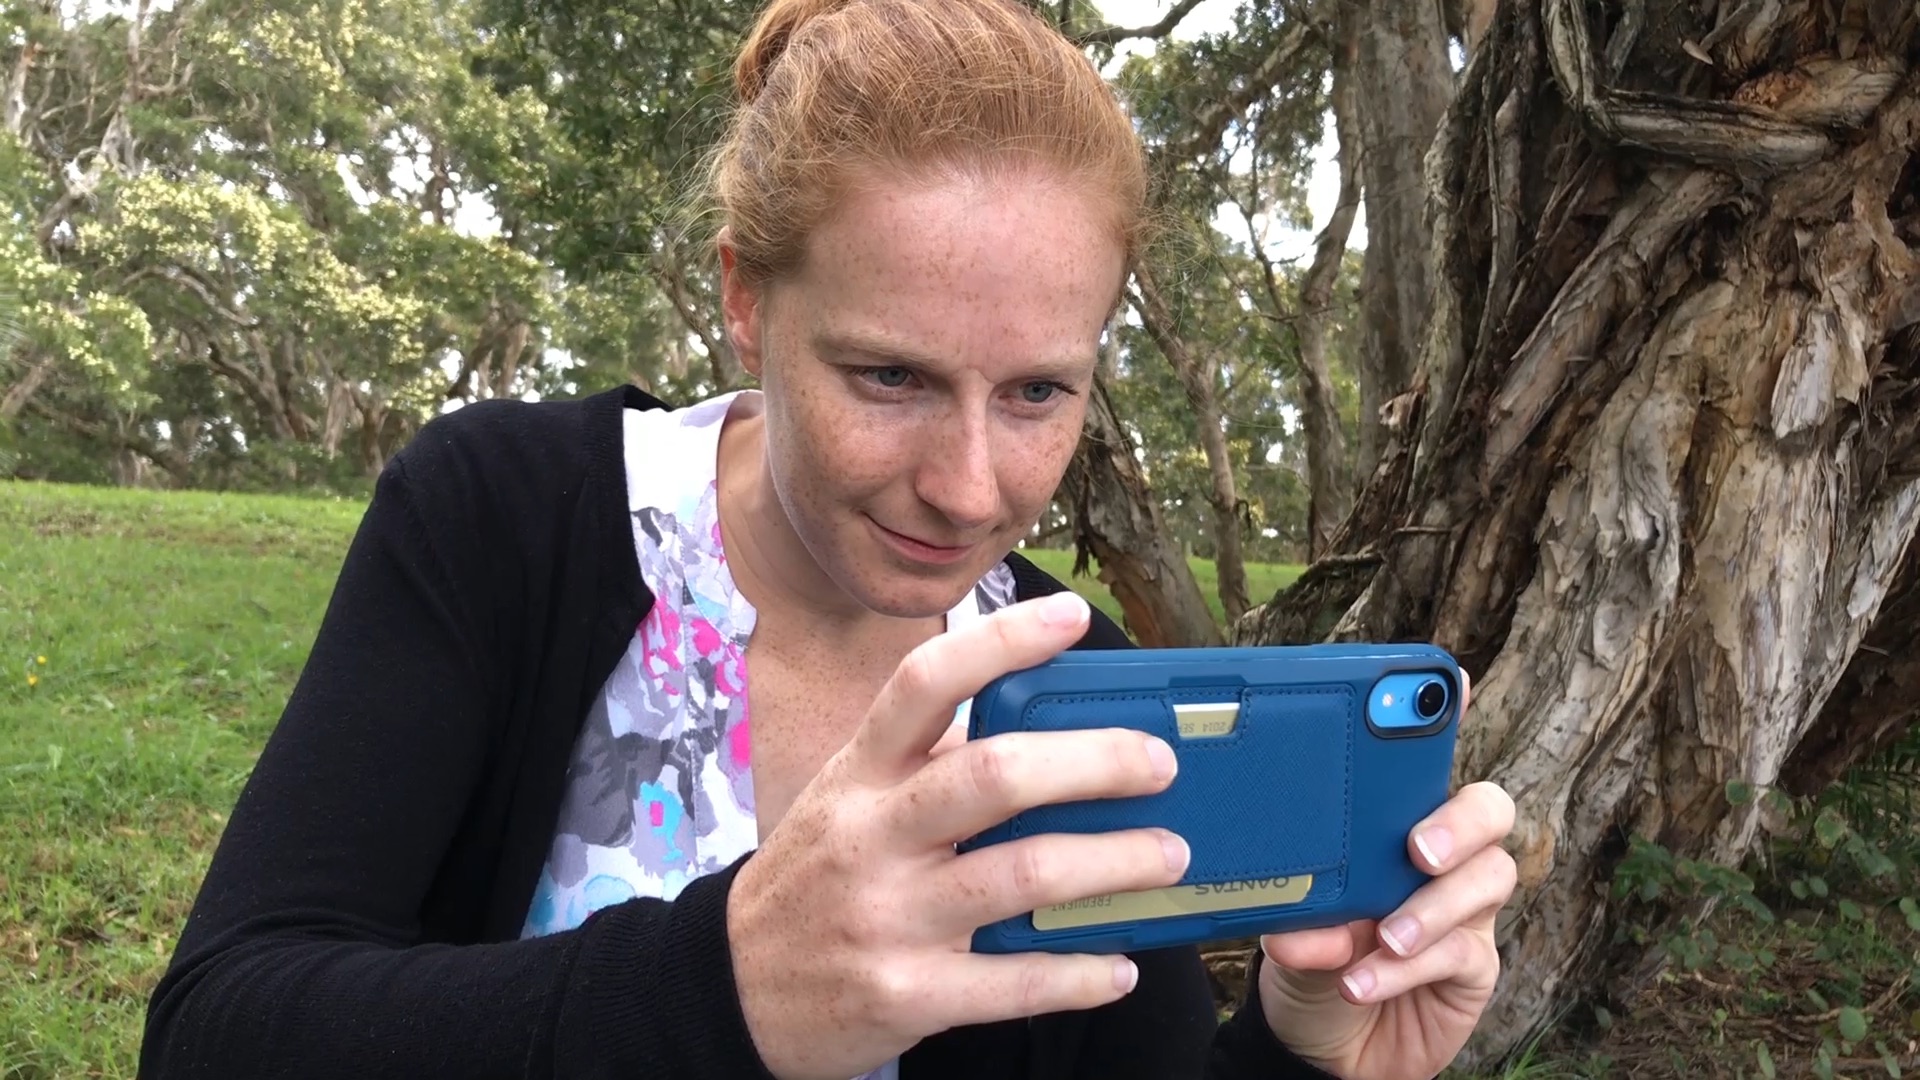
Shooting your video
- Keep your shots steady. Find something to lean against if you can.
- Film for 5 seconds before and after each shot. Hold each shot for 10 – 40 seconds.
- Vary your shot sizes. It gets very dull just looking at shots in one size. Get a wide shot. Stop and reframe. Go closer. Film again. Stop and move in closer again.
- Get “establishing shots”. These are usually wide shots showing the location in which you are working.
- Get detailed action shots. Going back to the archaeological example, get a wide shot of someone picking up a trowel. A medium shot of someone bending over about to dig. Close up of their hands digging. Shots of their faces.
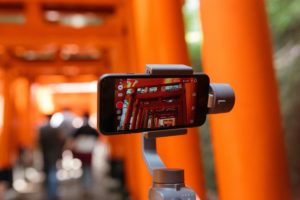
- Go for shallow depth of field. This is when the object closest to your camera is in focus and everything in the background is blurred out. On a real camera, you would adjust the aperture to change your depth of field. But you can simulate the effect using the iPhone’s AE/AF lock function. Press and hold on your camera screen while the subject you want to capture is in the foreground. This will lock the focus on that object and blur everything in the background, making your subject pop. This works particularly well for stationary subjects.
Filming an interview
- Place your interviewee in an area devoid of distraction or noise yet still relevant to the subject.
- Place them to the side of the centre of frame and facing in slightly.
- Decide if you want them talking directly to you audience – right at the lens – or at an interviewer off to the side.
- Ask open-ended questions. Why are you here? What happened? What is the problem? What is the research question you are trying to address?
- Ask them to spell out their name and title on camera for the record.
Editing
You can choose to edit yourself via the Camera app, choose an app or give the raw footage to your media/marketing team.
- If editing material shot earlier, launch the camera app. Tap Camera Roll (in iOS 6 and lower) or Videos (in iOS 7 and higher). Find the video. Tap and hold either end of the timeline bar until it turns yellow.
- Drag either end of the yellow bar to cut out bits you don’t want. The section of the video shown within the yellow bar is what you’ll save. You have to save continuous chunks of the video. You can’t stitch together two separate parts of the video.
- When you’re happy with your selection, tap Trim or Done (it differs depending on your version of the iOS). If you changed your mind, tap Cancel.
- A menu pops up offering two options: Trim Original or Save as New Clip. Choose Save as New Clip. This saves the trimmed version of the video as a new file on your iPhone, allowing you to view the new clip while leaving the original untouched. That way, you can return to it to make other edits later.
Whichever you choose, the video will be saved to your Photos app where you can view and share it.
An even fastest way would be to sign up for an app like Animoto. Animoto is a great little program that allows you to edit your videos and push them out, readily sized for the different social media platforms.
It sounds like a lot of effort but the rewards of recording in the field can be huge. At the very least you will have material that can go out with a media release. Even better, it might become a TV documentary if the right people see the potential. Now the research funding bodies will love you for that.